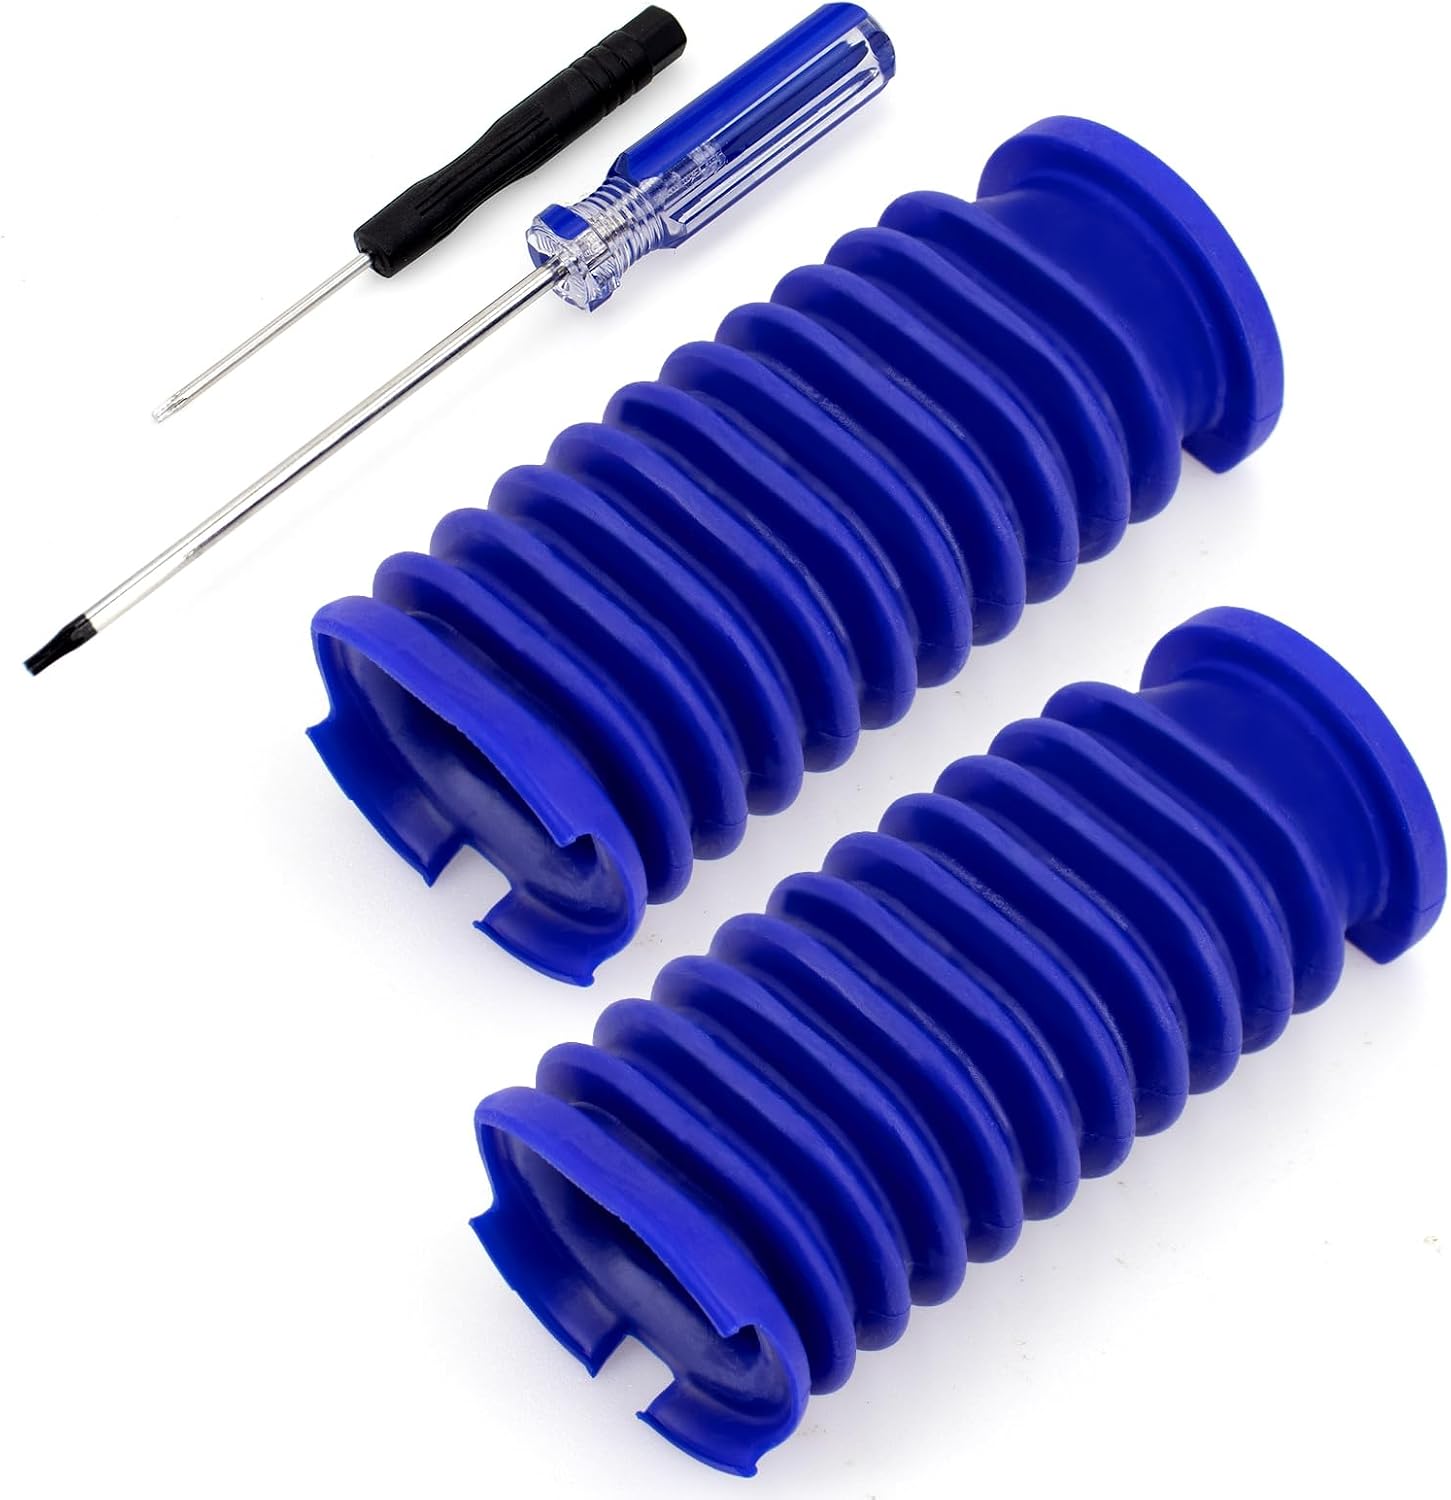
0:00 Hi, everyone. Today we're replacing the hose on a Slim cleaner head.
0:06 This is what the cleaner head normally looks like. This one is the V12 cleaner head.
0:10 The V10 slim and V8 Slim cleaner heads use the same interchangeable hose as well.
0:17 Normally, you can remove the brush bar after taking this piece off.
0:24 It's pretty much the same as this one. You don't need to remove the motor to replace the hose.
0:32 So I'll use this one as an example. Start by removing this screw.
0:40 Then remove this screw, this screw, the screw inside here, and the other one.
0:48 At this end, there's one screw inside, one on this side, and finally one more screw in here.
0:54 We'll take it apart in a moment. First, remove these screws.
1:01 Use a T8 screwdriver for all of these screws. When you buy a Slim hose, it comes with the screws.
1:08 The ones in here are basically the supplied accessories. These screws have T8 heads, so use a T8 screwdriver.
1:34 This screw takes a T6 screwdriver.
1:39 Switch to the T6 screwdriver.
2:07 In either case, you don't need to disconnect this wire. This cleaner head is in for repair, so it looks like this.
2:15 You can leave it in place like this.
2:24 Then you can take this side of the hose off. Now remove this end piece. Start by taking out this screw.
2:31 Then take out this screw over here. Both screws also take a T8 screwdriver.
2:41 For these two screws, don't push the screwdriver shaft in too far. Leave it sticking out a little.
2:48 That way, you can get them out.
3:07 Do the same on this side.
3:29 After removing them, grab a flathead screwdriver and pry from here.
3:58 When prying, be careful not to break these two tabs.
4:04 There's still a chance you could break them. If they break, it may increase the cost.
4:12 There's one more screw inside here. It looks like a T8 screw.
4:28 Then you can take the hose off. That's how you remove the hose.
4:36 Now put it back together.
4:40 To reinstall it, line it up with this opening first, like this.
4:59 Our compatible hose is made of silicone, so it flexes a little more easily than the original.
5:06 The original is stiffer. Our silicone hose is softer and more resilient.
5:34 Work the first layer up into place.
5:38 Once it's in place,
5:41 Take a photo before each disassembly step, then put everything back in sequence during reassembly.
6:17 For reassembly, use an electric screwdriver to work faster.
6:21 If you don't have an electric screwdriver, just use a regular screwdriver to put it back together like this.
6:54 Line the spring up with this spot, and line this side up here.
7:05 Put this side in first. Once it's in, press this side down.
7:17 You can take this piece off to make installation easier, or leave it in place. Then move to this side.
7:25 It goes like this. Line this notch up with that notch.
8:07 Just like that.
8:14 Push this end in here.
8:36 Push it in just like this.
8:43 Align this side first. Once it's lined up, put in a screw to hold it in place.
8:55 With this side in place, put in a screw to hold it for now.
9:04 This side.
9:08 If you've already disconnected the wire, reconnect it here.
9:13 After reconnecting the wire,
9:24 After reconnecting the wire, secure it the same way, like this. Once the wire is connected, secure this side as well.
9:33 Once it's secure, install the screw on this side.
9:49 After installing that screw, put in the last screw.
9:54 Switch to the T6 screwdriver.
10:22 The hose replacement is now complete.